Posted by Aaron on August 25, 2013
Comments (0)
The process of creating a fresh installation of BV Commerce 2013 is nearly identical to 5.X, though there is no Windows installer app like there was on the earlier versions of 5. Let's start with the system requirements, as this is the biggest area of change compared to prior versions.
System Requirements
- Windows Server 2003 or above (i.e. IIS 6 or above)
- .NET Framework 4.0 with Full Trust
- SQL Server 2005 or above with Full Text Search installed
SQL Server Full Text Search
The Full Text Search component is typically installed already, but in some cases this will need to be added to the SQL Server. Note that if you are using an Express edition of SQL Server and full text search is not installed, you will need to install the Advanced Services version of SQL Server Express to get the full text search component.
Installation Steps
These installation steps assume that you have already created a website in IIS where you will copy the BV Commerce files. If you are using a hosting company, this would have already been done for you.
- Download BV Commerce 2013 from the Downloads section of your account.
- Unzip the file on your computer to a location of your choosing.
- Copy only the contents of the \www folder to the server; the other folders contain the source code for developer use. If you're a developer using Visual Studio 2012 or above you can open the BVCommerce.sln solution file in the folder root to open the source code (note that the solution is setup to use IIS Express by default).
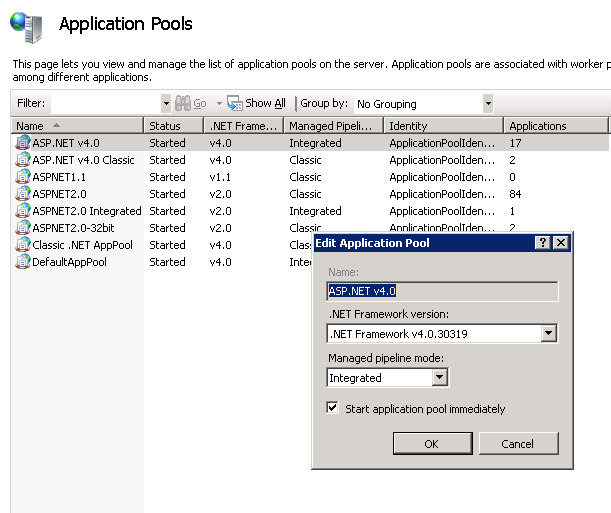
- In IIS set your application pool to .NET Framework 4.0 and integrated managed pipeline mode. If you're using a hosting company you may need to contact them to make this change. Note that if you are installing BV Commerce in a sub-folder of your website, rather than at the root level, you will need to make this folder an application in IIS with its application pool set to .NET Framework 4.0 and integrated managed pipeline mode.

- Create a blank database in SQL Server.
- Using a text editor like Notepad, enter your SQL Server connection string information (username, password, and database name) into the Web.config file found in the root of the site. There is a "Bvc5Database" connection string around line 33 that should look like this:
<connectionStrings><add name="Bvc5Database" connectionString="Server=localhost;database=Bvc2013;uid=;pwd=;"/>
</connectionStrings>
If the SQL Server is on a different server than the website replace "localhost" with the address of the SQL Server. Change "Bvc2013" to the name of your newly created database from the previous step. Enter your username after "uid=" and your password after "pwd=".
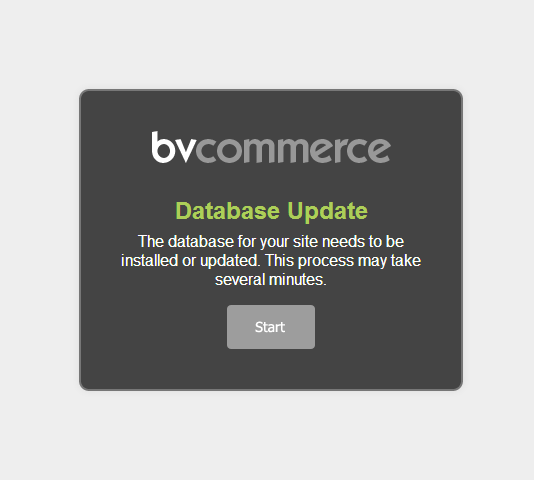
- Open your web browser and go to the address of your BV Commerce store. Provided that the above steps were done correctly you should be redirected to the /SQLPatch.aspx page and see the installation screen below. If you don't, please re-check the steps above.

- Click the "Start" button to complete the installation. It can take a few minutes to setup the database. Once setup is complete you will be redirected to the store homepage.
- To access the store administration area, click the "Sign In" link.
- Enter the default username "admin" and the default password "password".
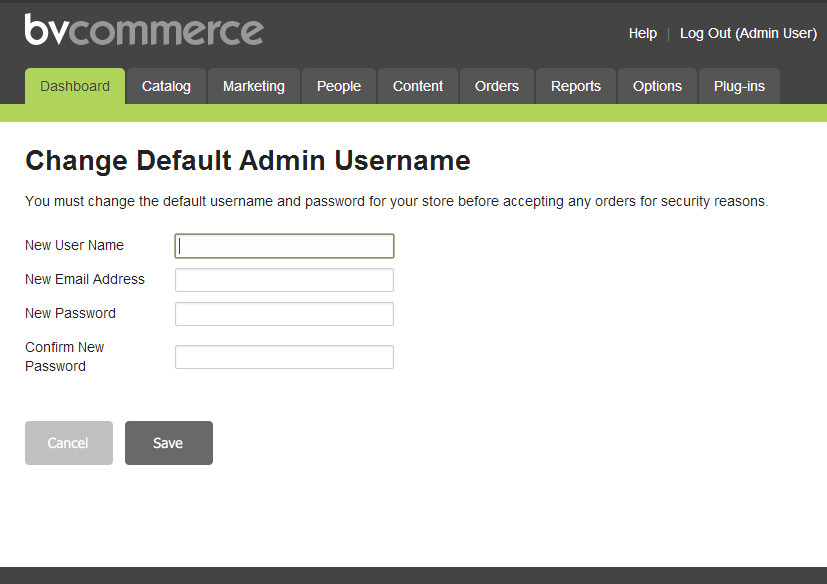
- Per PCI Compliance requirements you will now be asked to change your username, email address, and password (screen shot below). Be sure not to forget this information! Once you click the "Save" button you will be logged out and asked to log back in using your new login information.

- Congratulations! You've successfully installed BV Commerce 2013.